A Closer Look – Interior
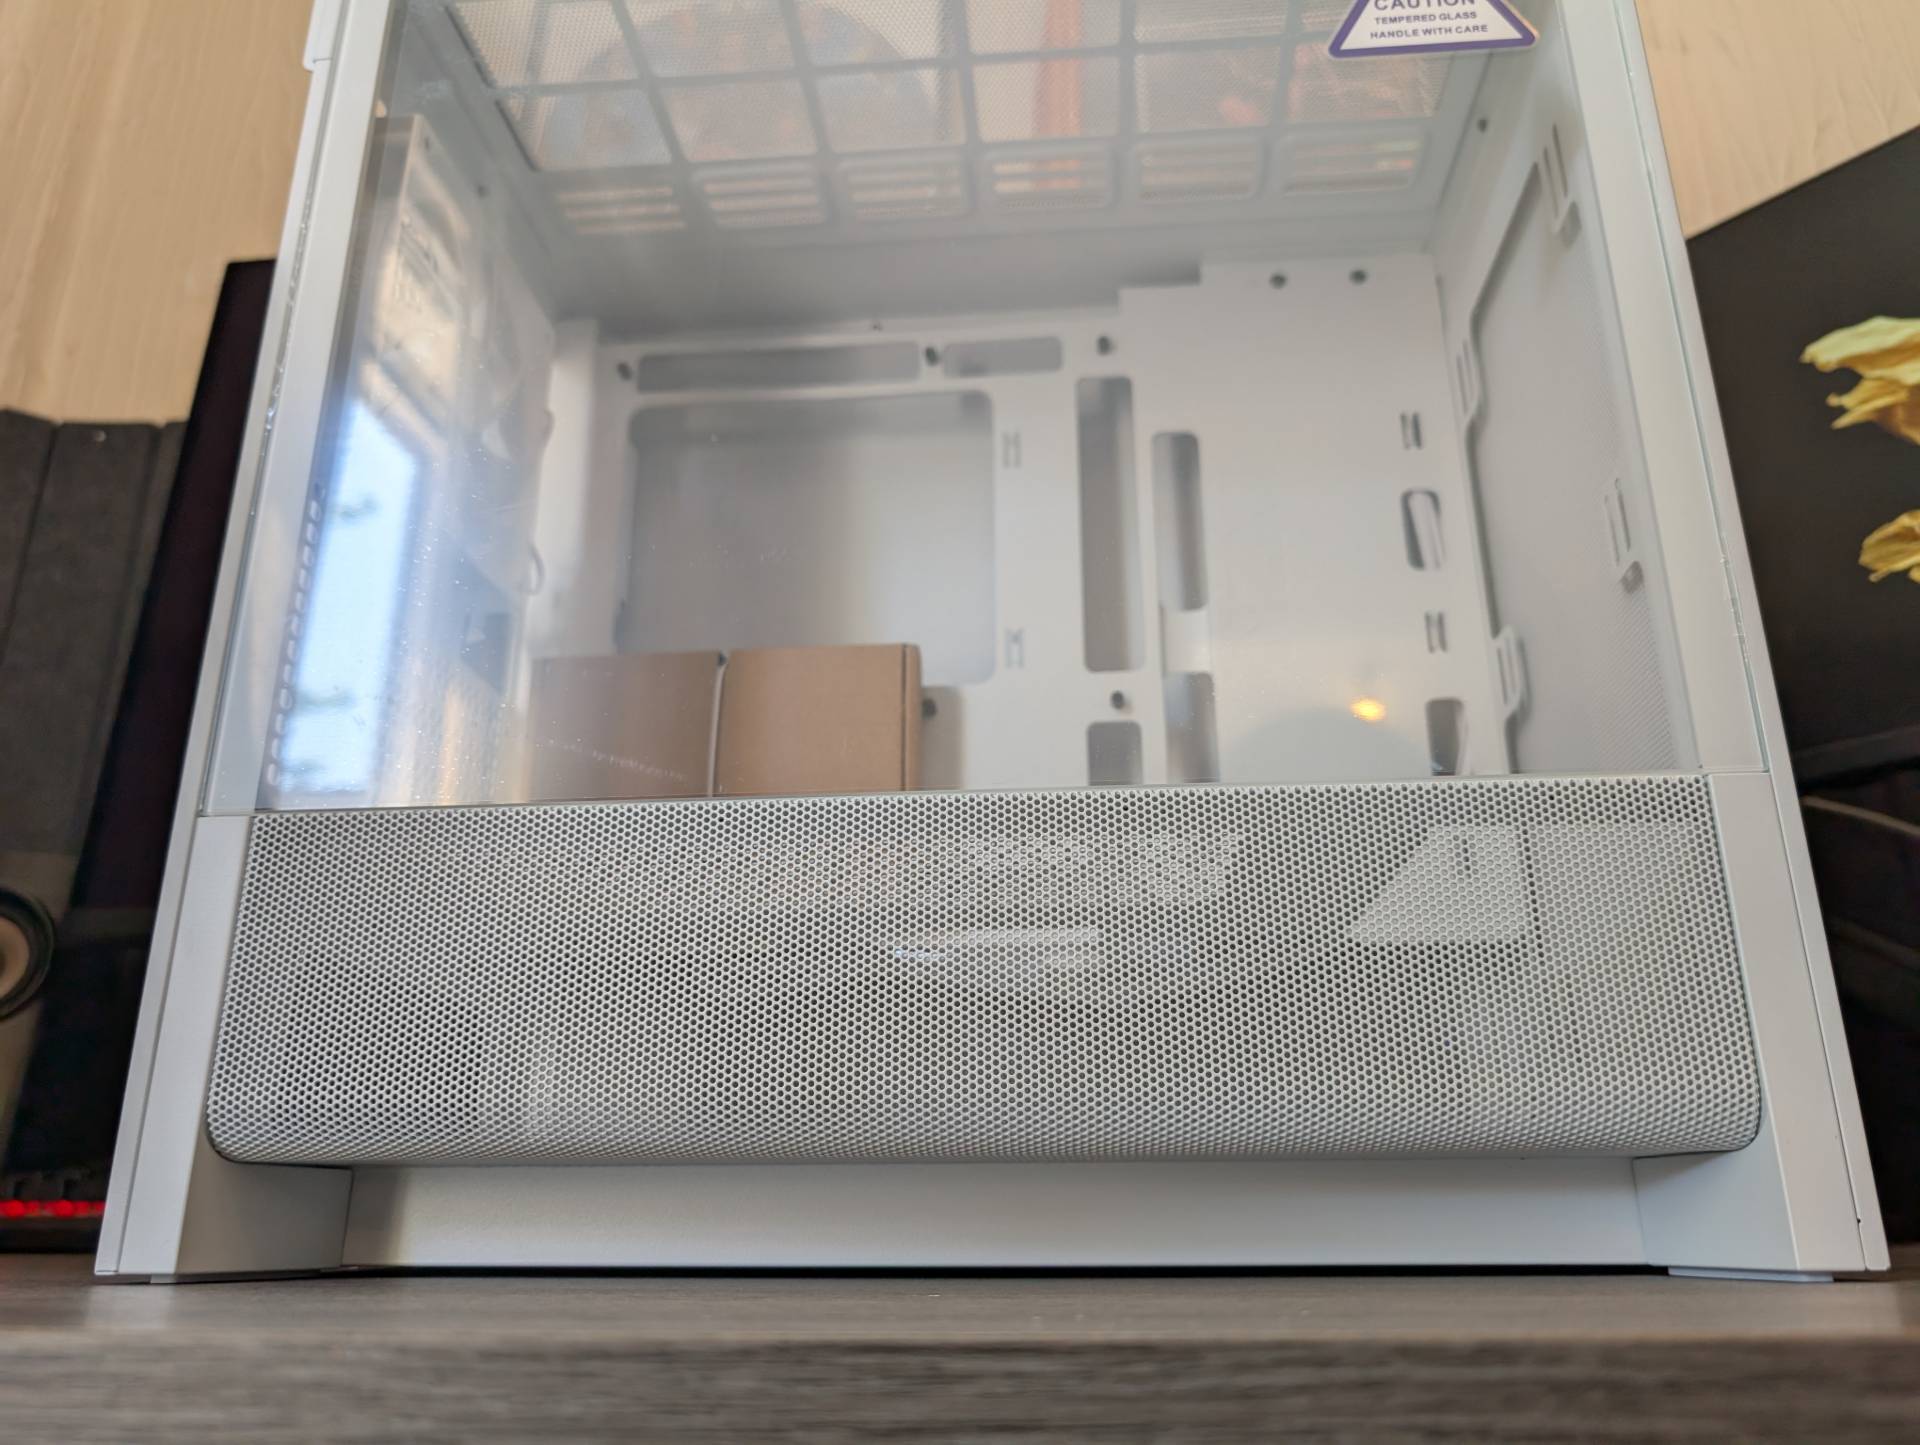
One thing I love about this case is how easy everything is to get to. The front panel pulls off, allowing access to the front panel fan/radiator mounts, while also making it easier to clean any dust and debris away. The side panel glass is tool-free, the top mesh is magnetic, and the right side panel is just thumbscrews; it’s all quick and easy to take apart, but feels very solid and robust when assembled.
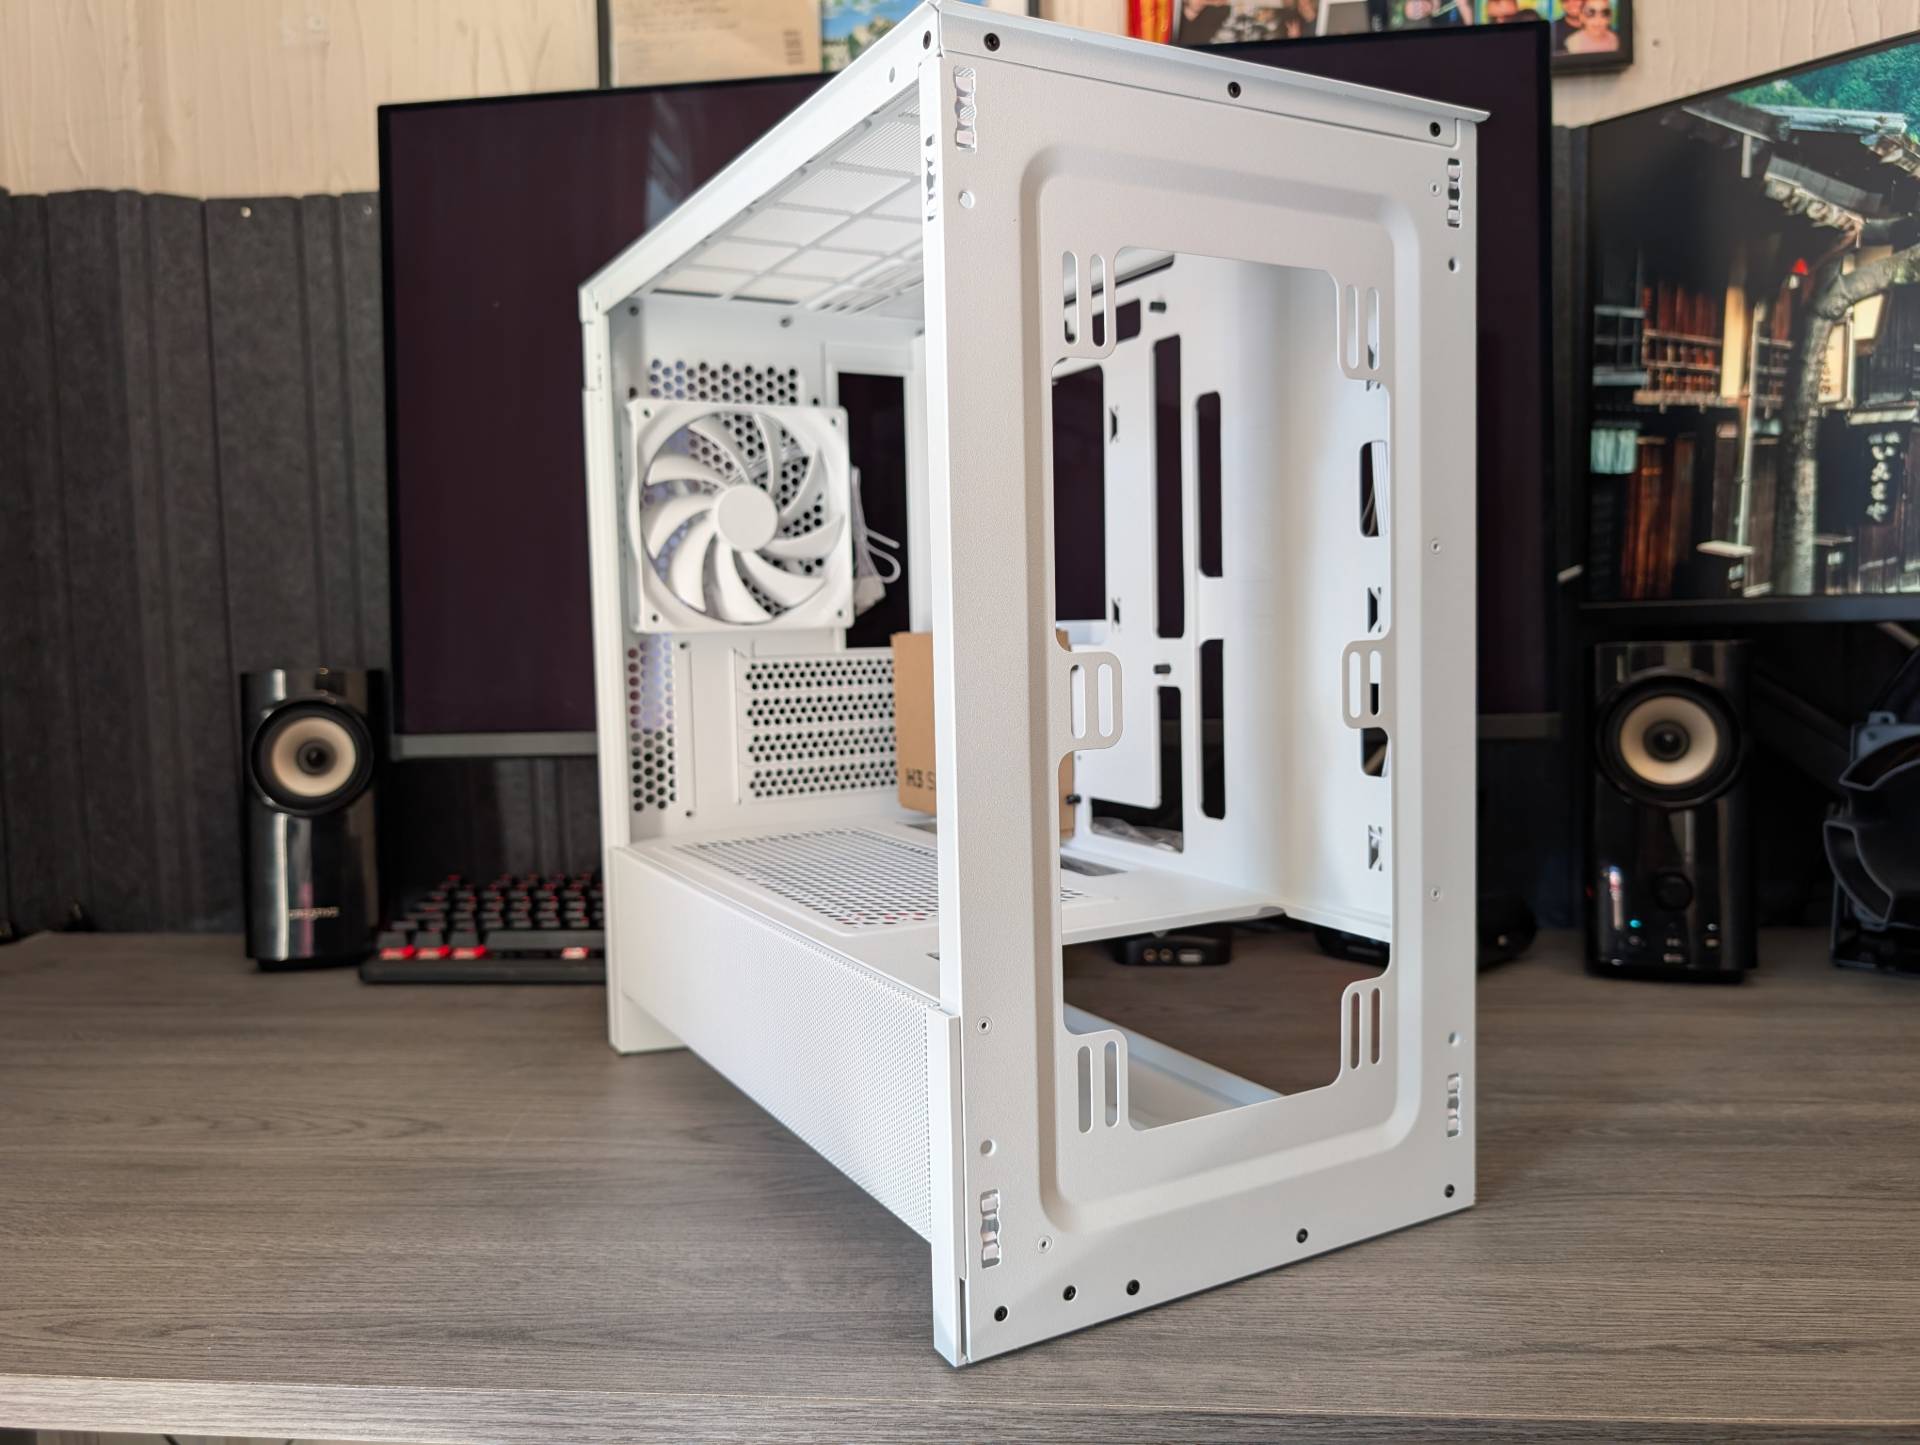
With the side panel glass removed, you can see there’s a lot going on in here. There’s obviously a lot of space, as despite the slimmer and less tall form factor, there’s a really good amount of length on offer here. Even the largest GPUs on the market should fit, albeit the most extreme examples will limit your options for front-mounted cooling to fans, while some mid-to-large size cards should still allow a slim radiator in the front too.
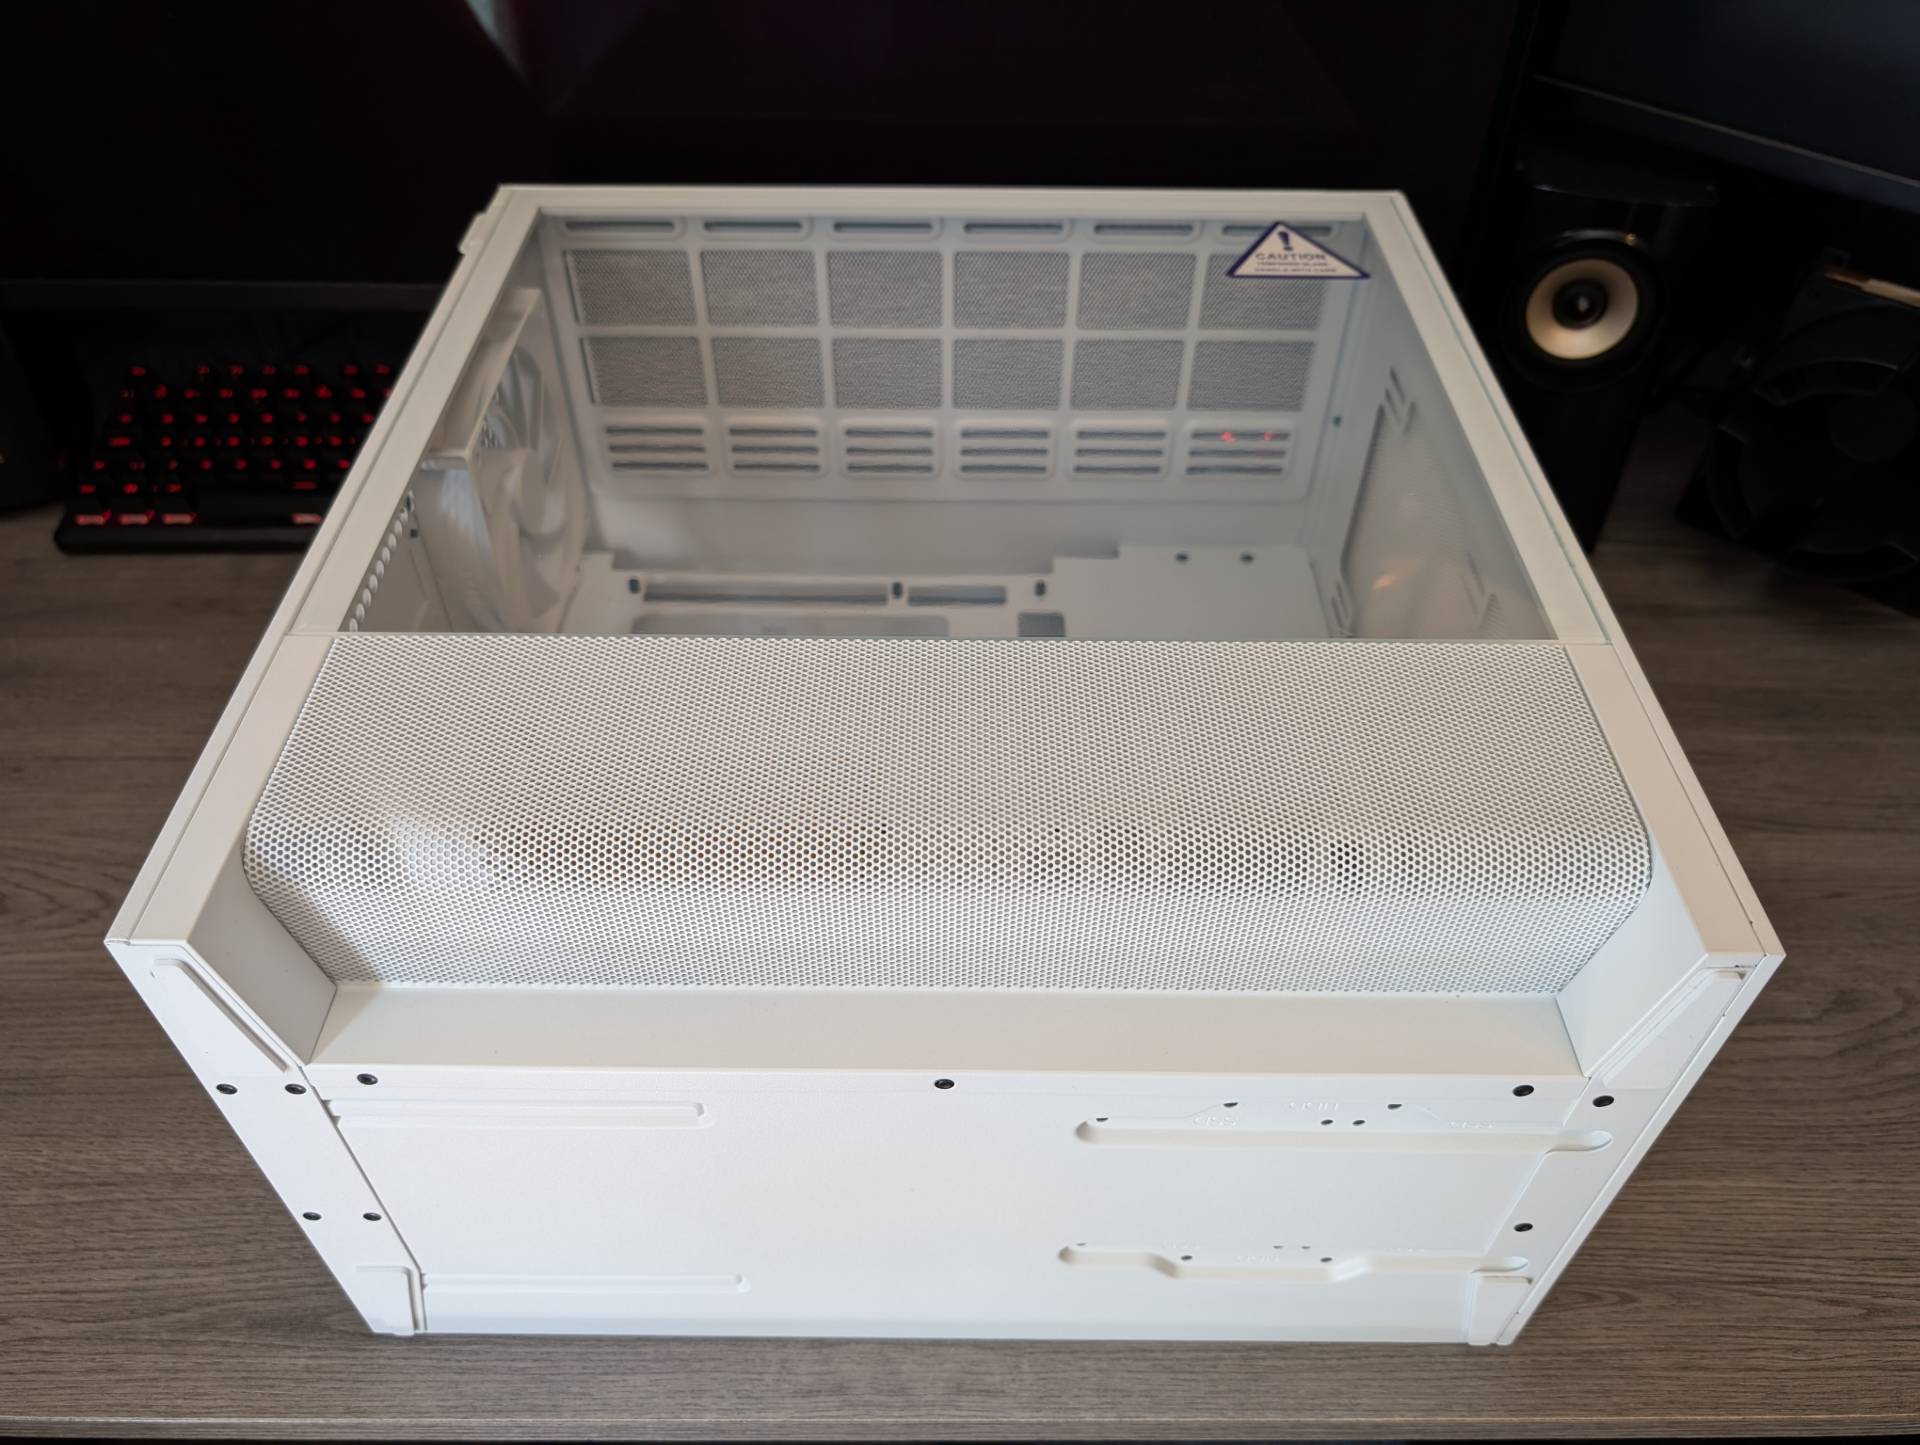
Not that this is a major concern, as there’s a perfectly usable top mount in the case, where you could alternatively fit your AIO cooler, or a second radiator if you really wanted to dive deeper into liquid cooling configurations.
There’s a cut-away towards the front of the PSU shroud, which is going to allow you to use the full height of the front panel for a larger radiator should you need it.
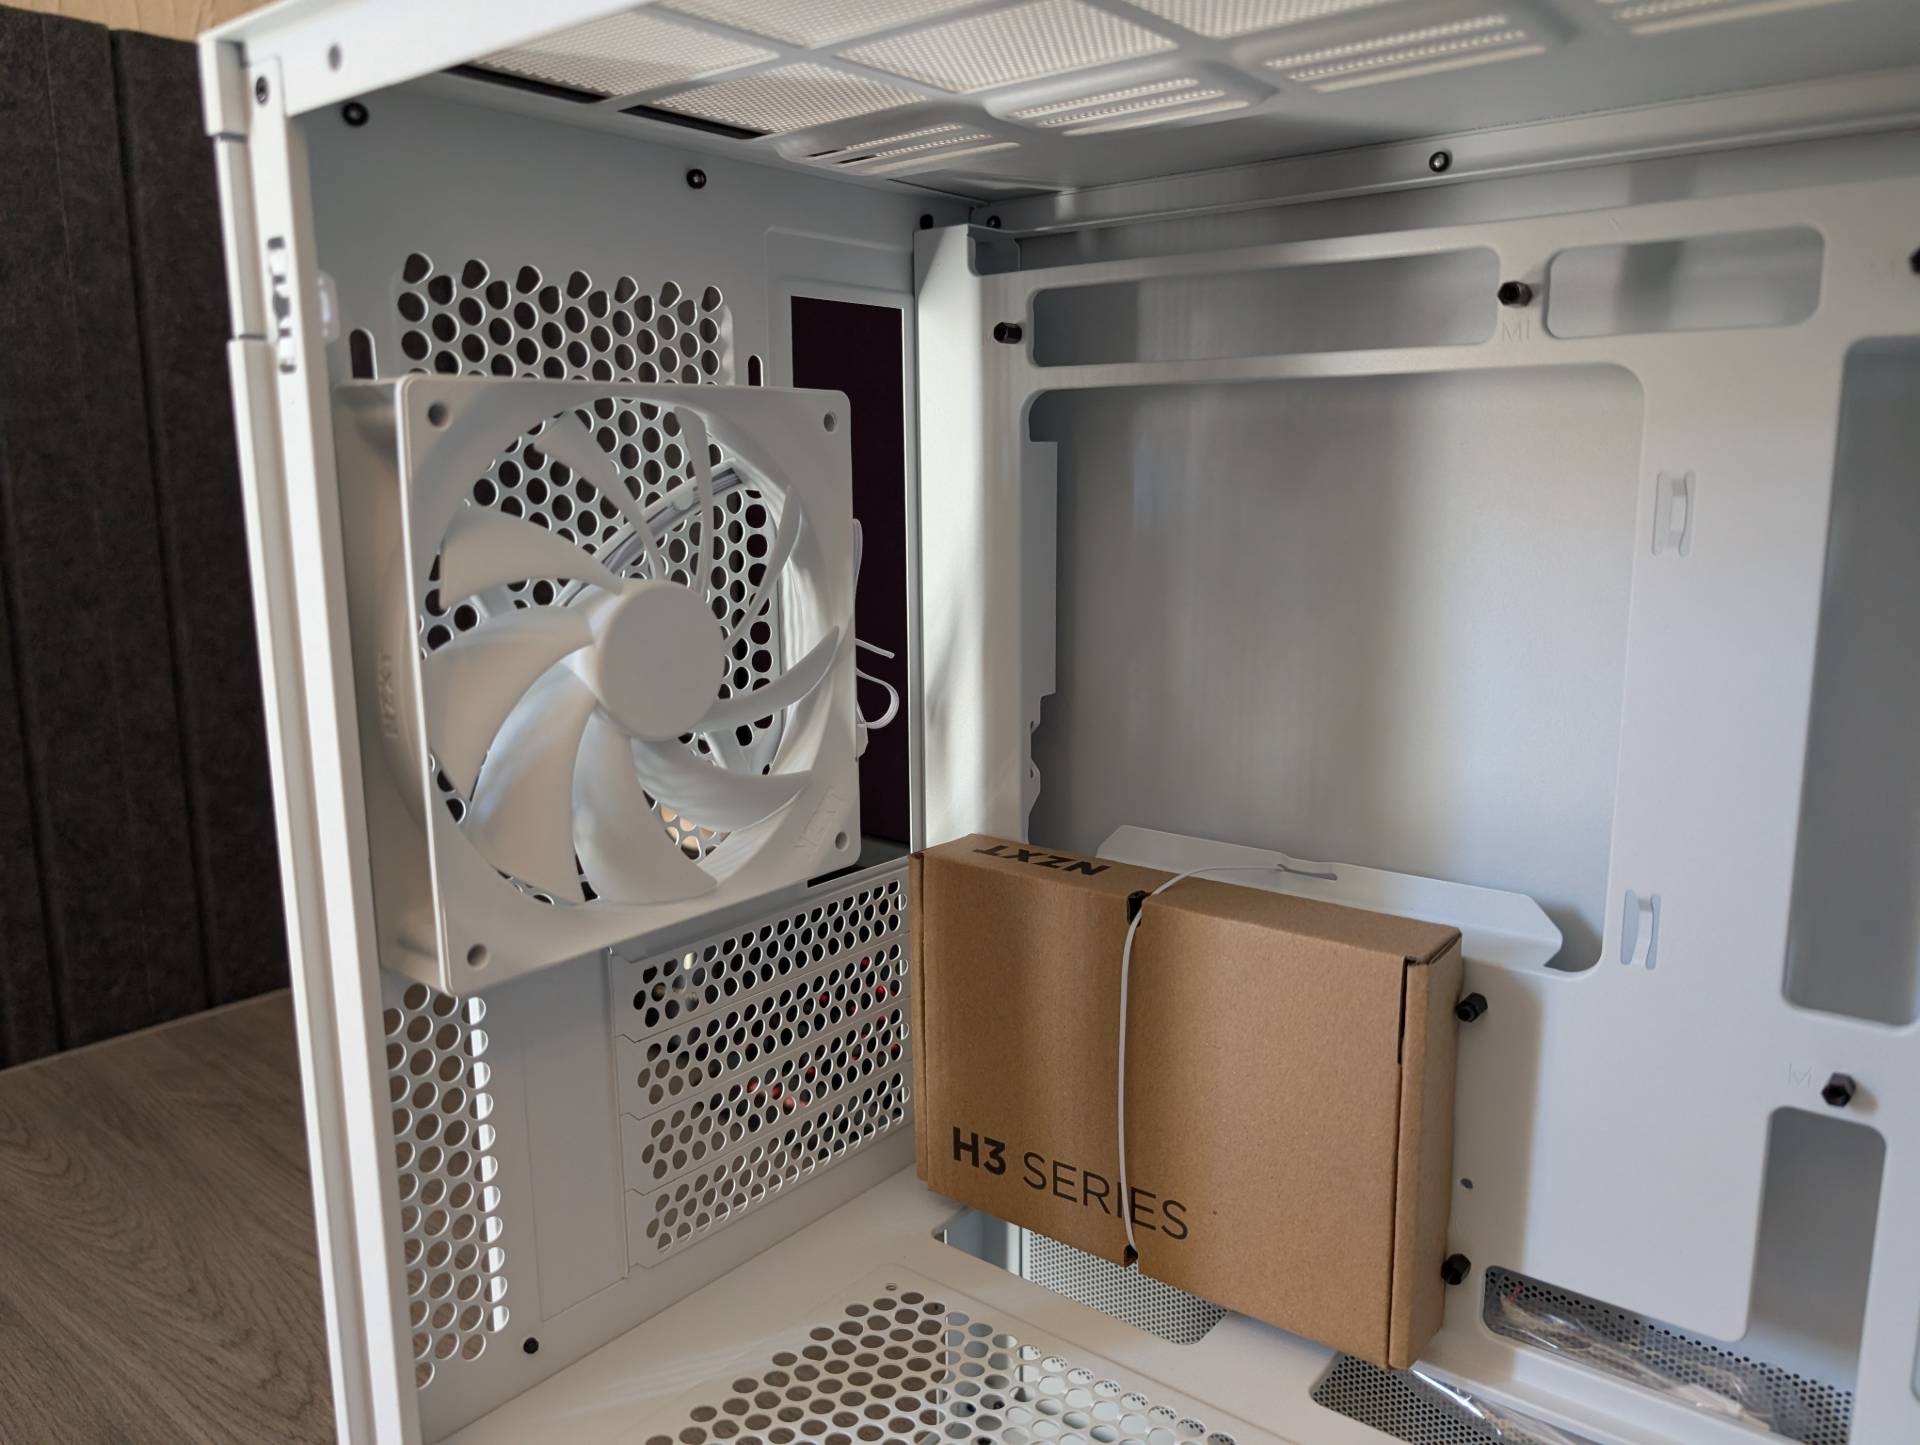
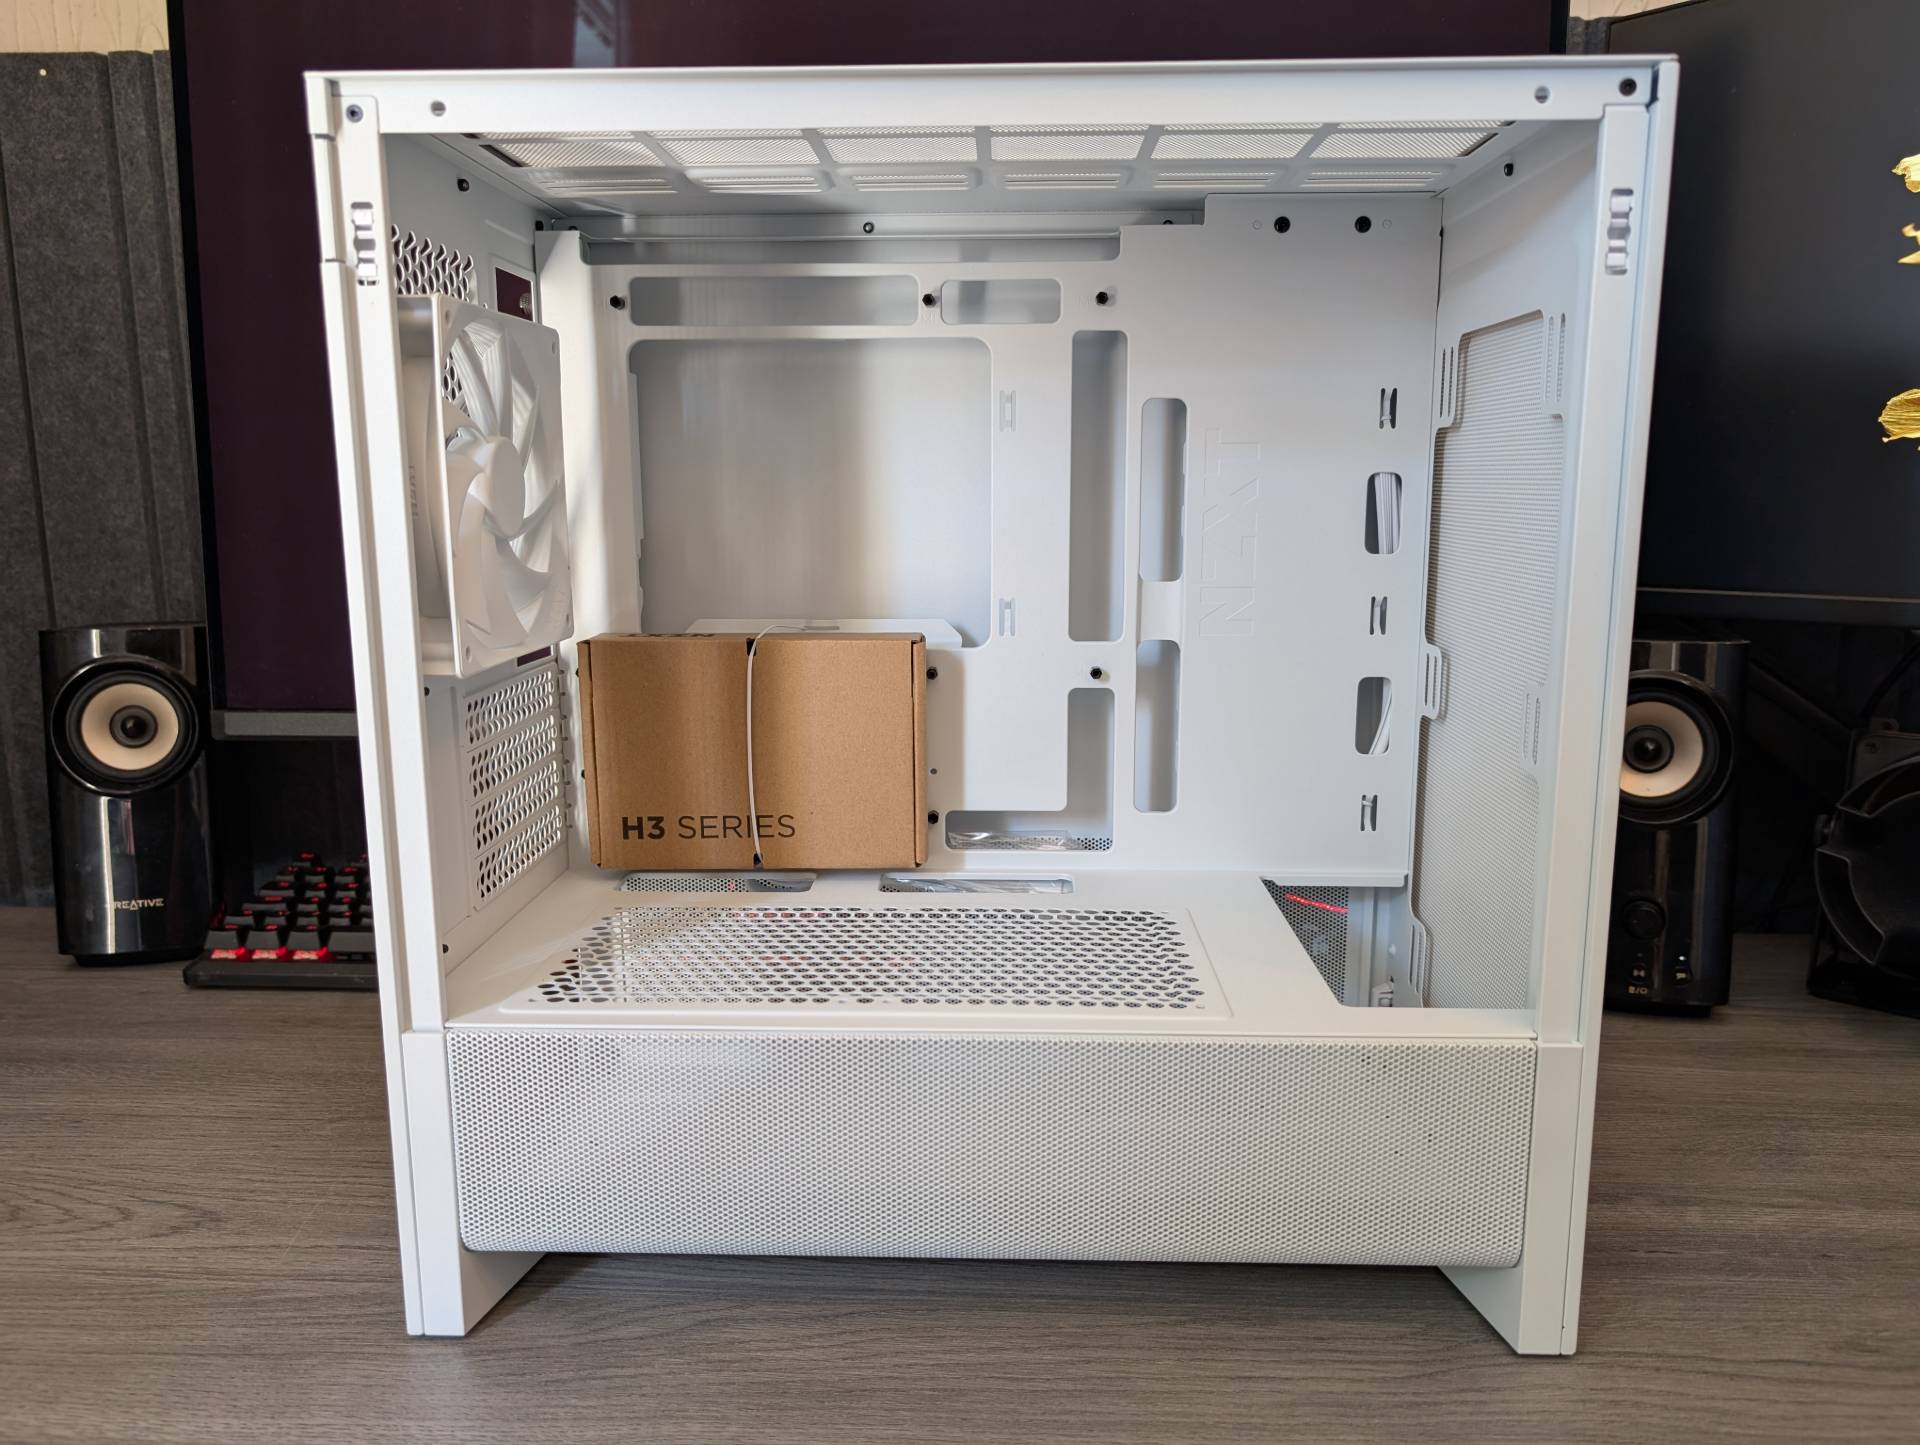
However, there’s plenty of room throughout, and a good-sized air cooler is certainly an option too. With fan mounts in the front, rear and top of the case, you have plenty of ways to bring air into the case.
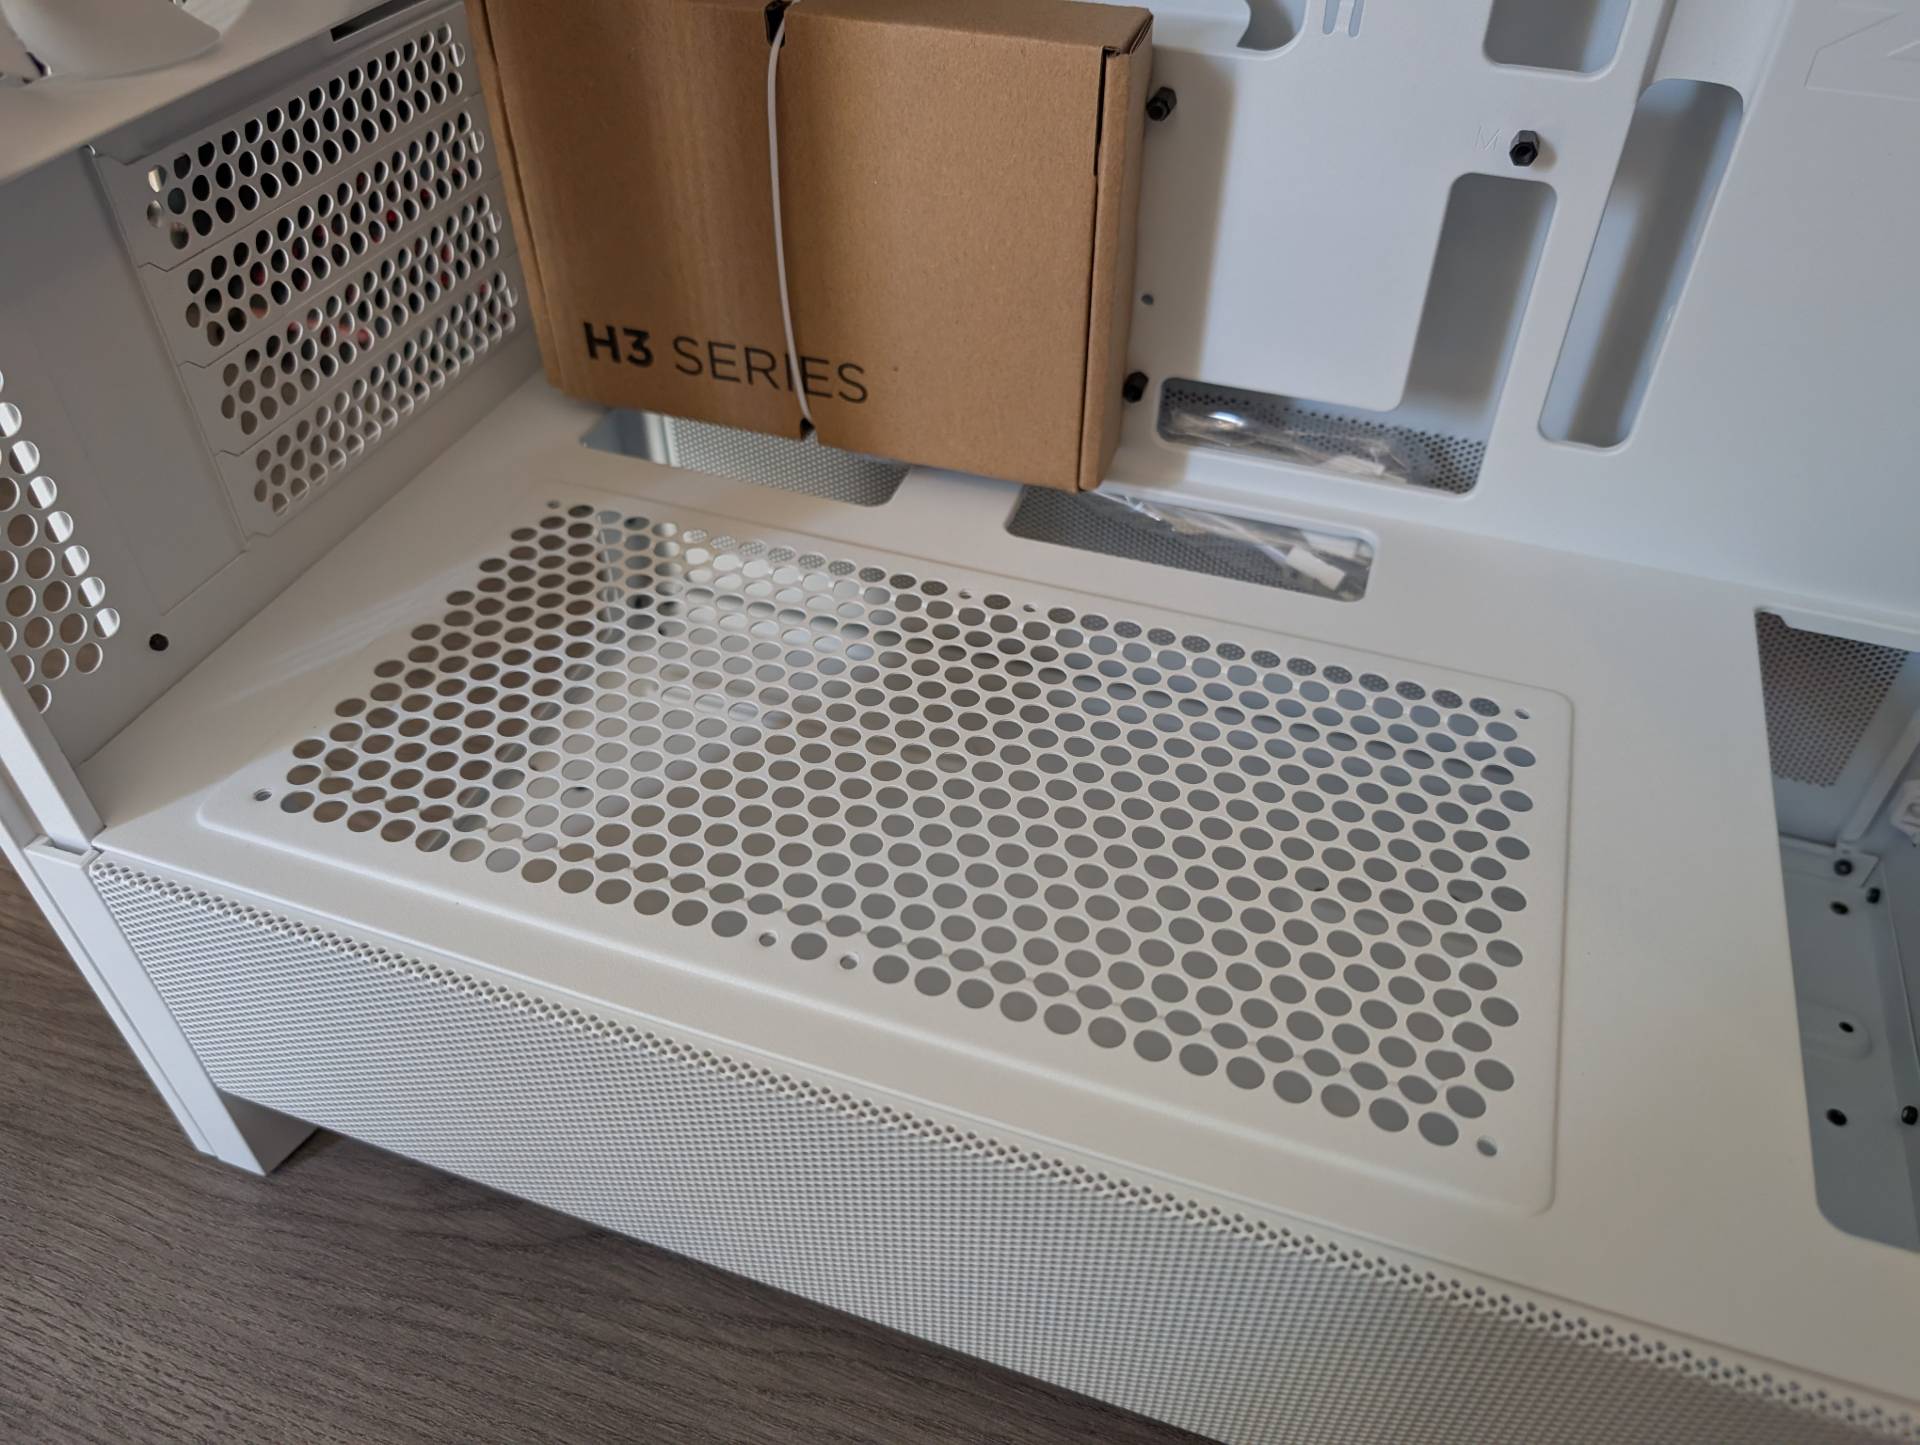
One of the more interesting examples is on the PSU shroud, which is topped with mesh and allows two more fans internally that can draw air from the left and right side mesh sections on the lower part of the case.
However, these fan mounts have a limitation, and that’s the thickness of your graphics card. IF you’re fitting a four-slot card, they’re a no-go. 2.5/3 slot card may allow for some fans to directly push air into the GPU, while a 2 slot card will easily allow for fans here. Regardless of fans, the GPU is going to be able to pull more fresh air into the case on its own anyway.
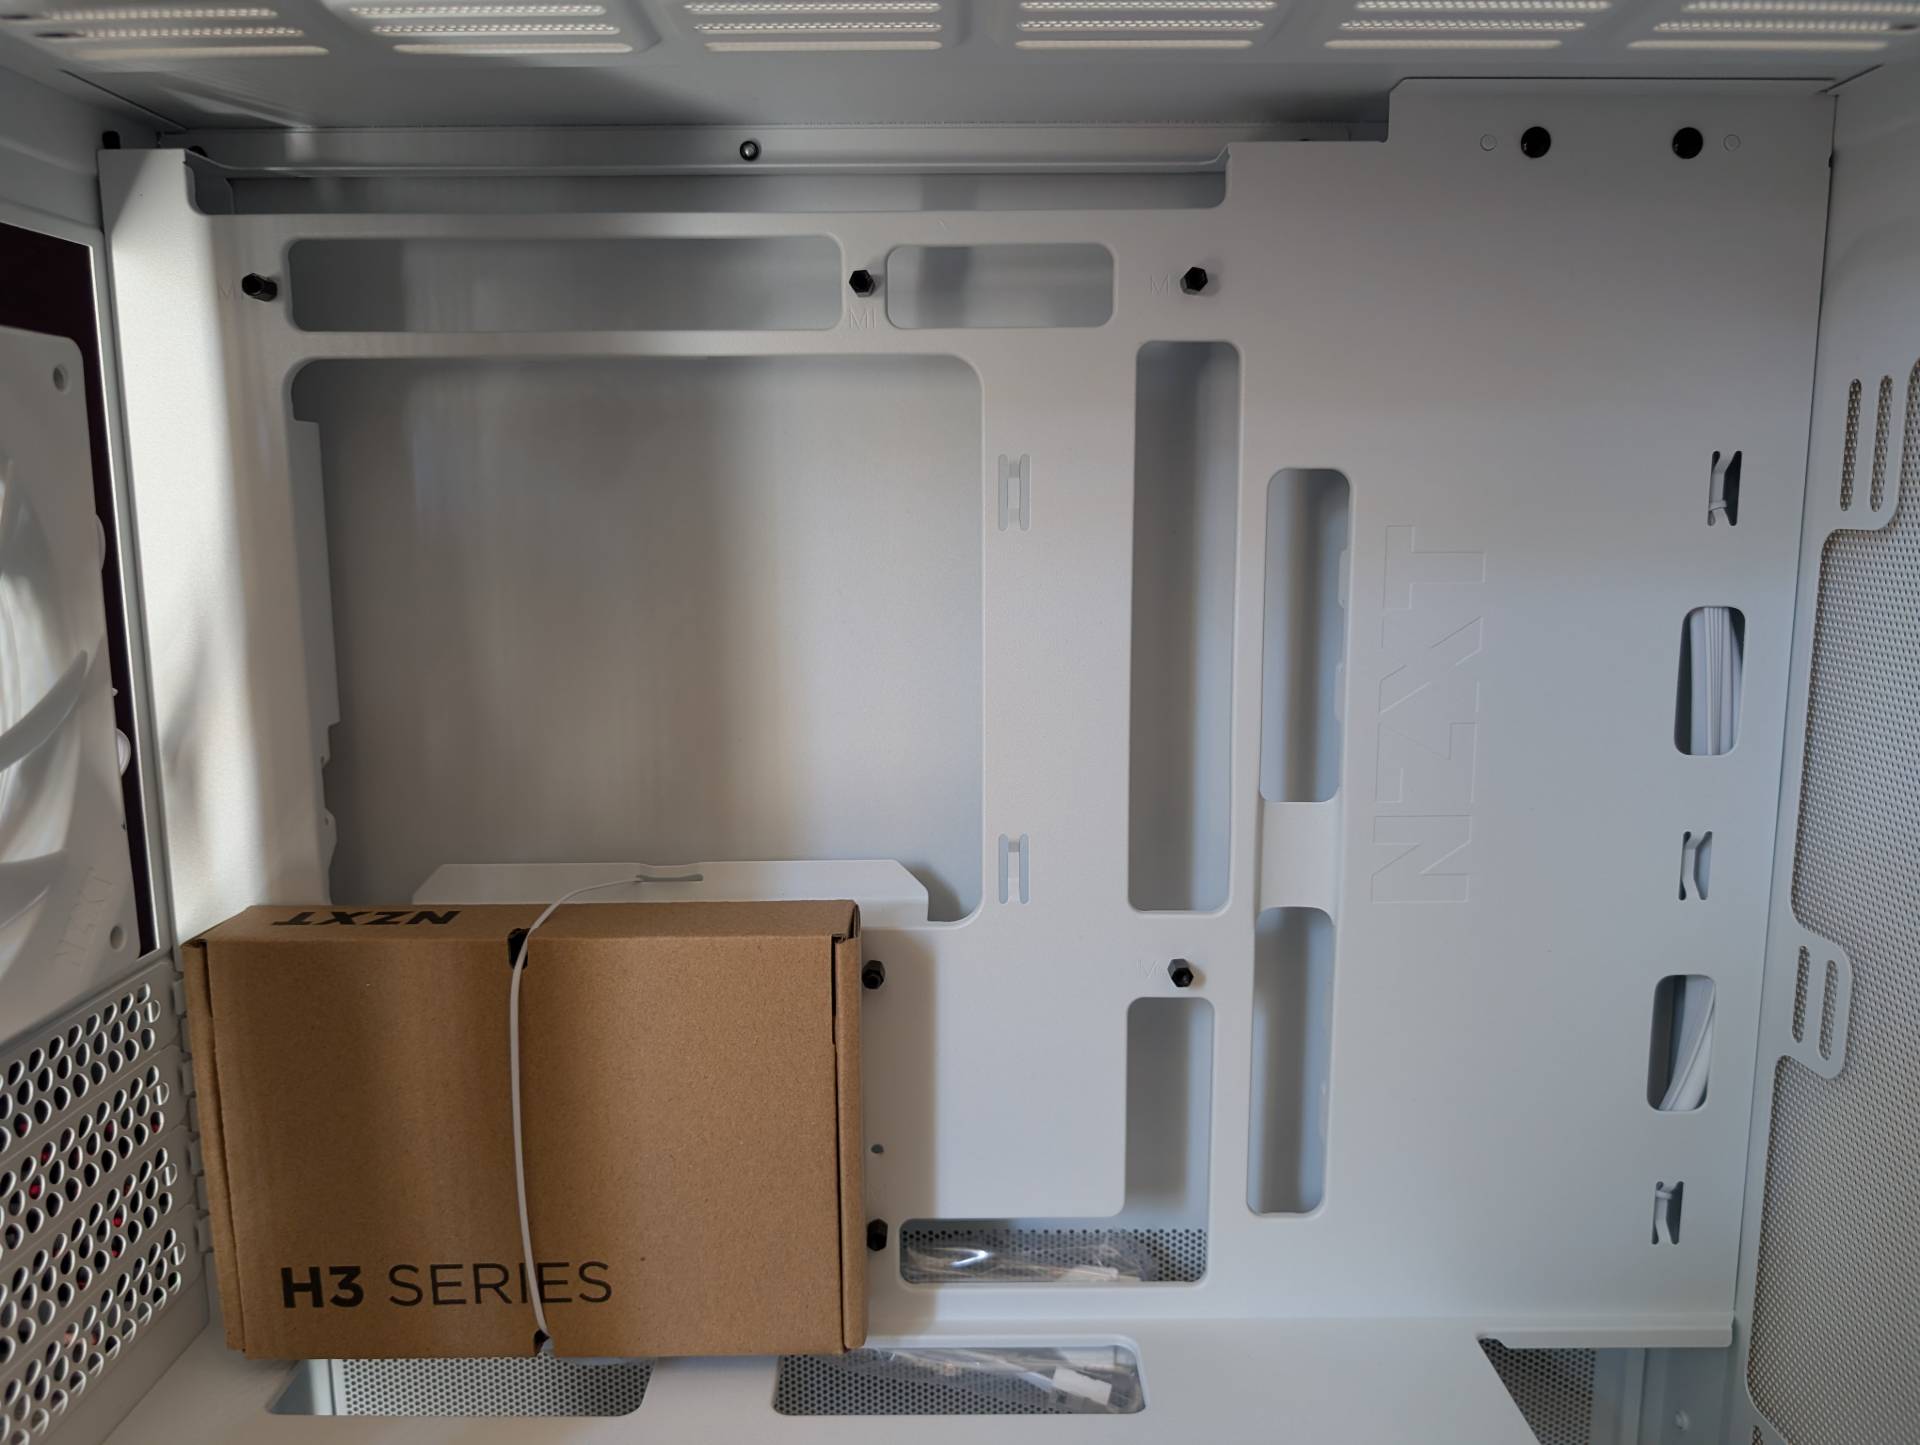
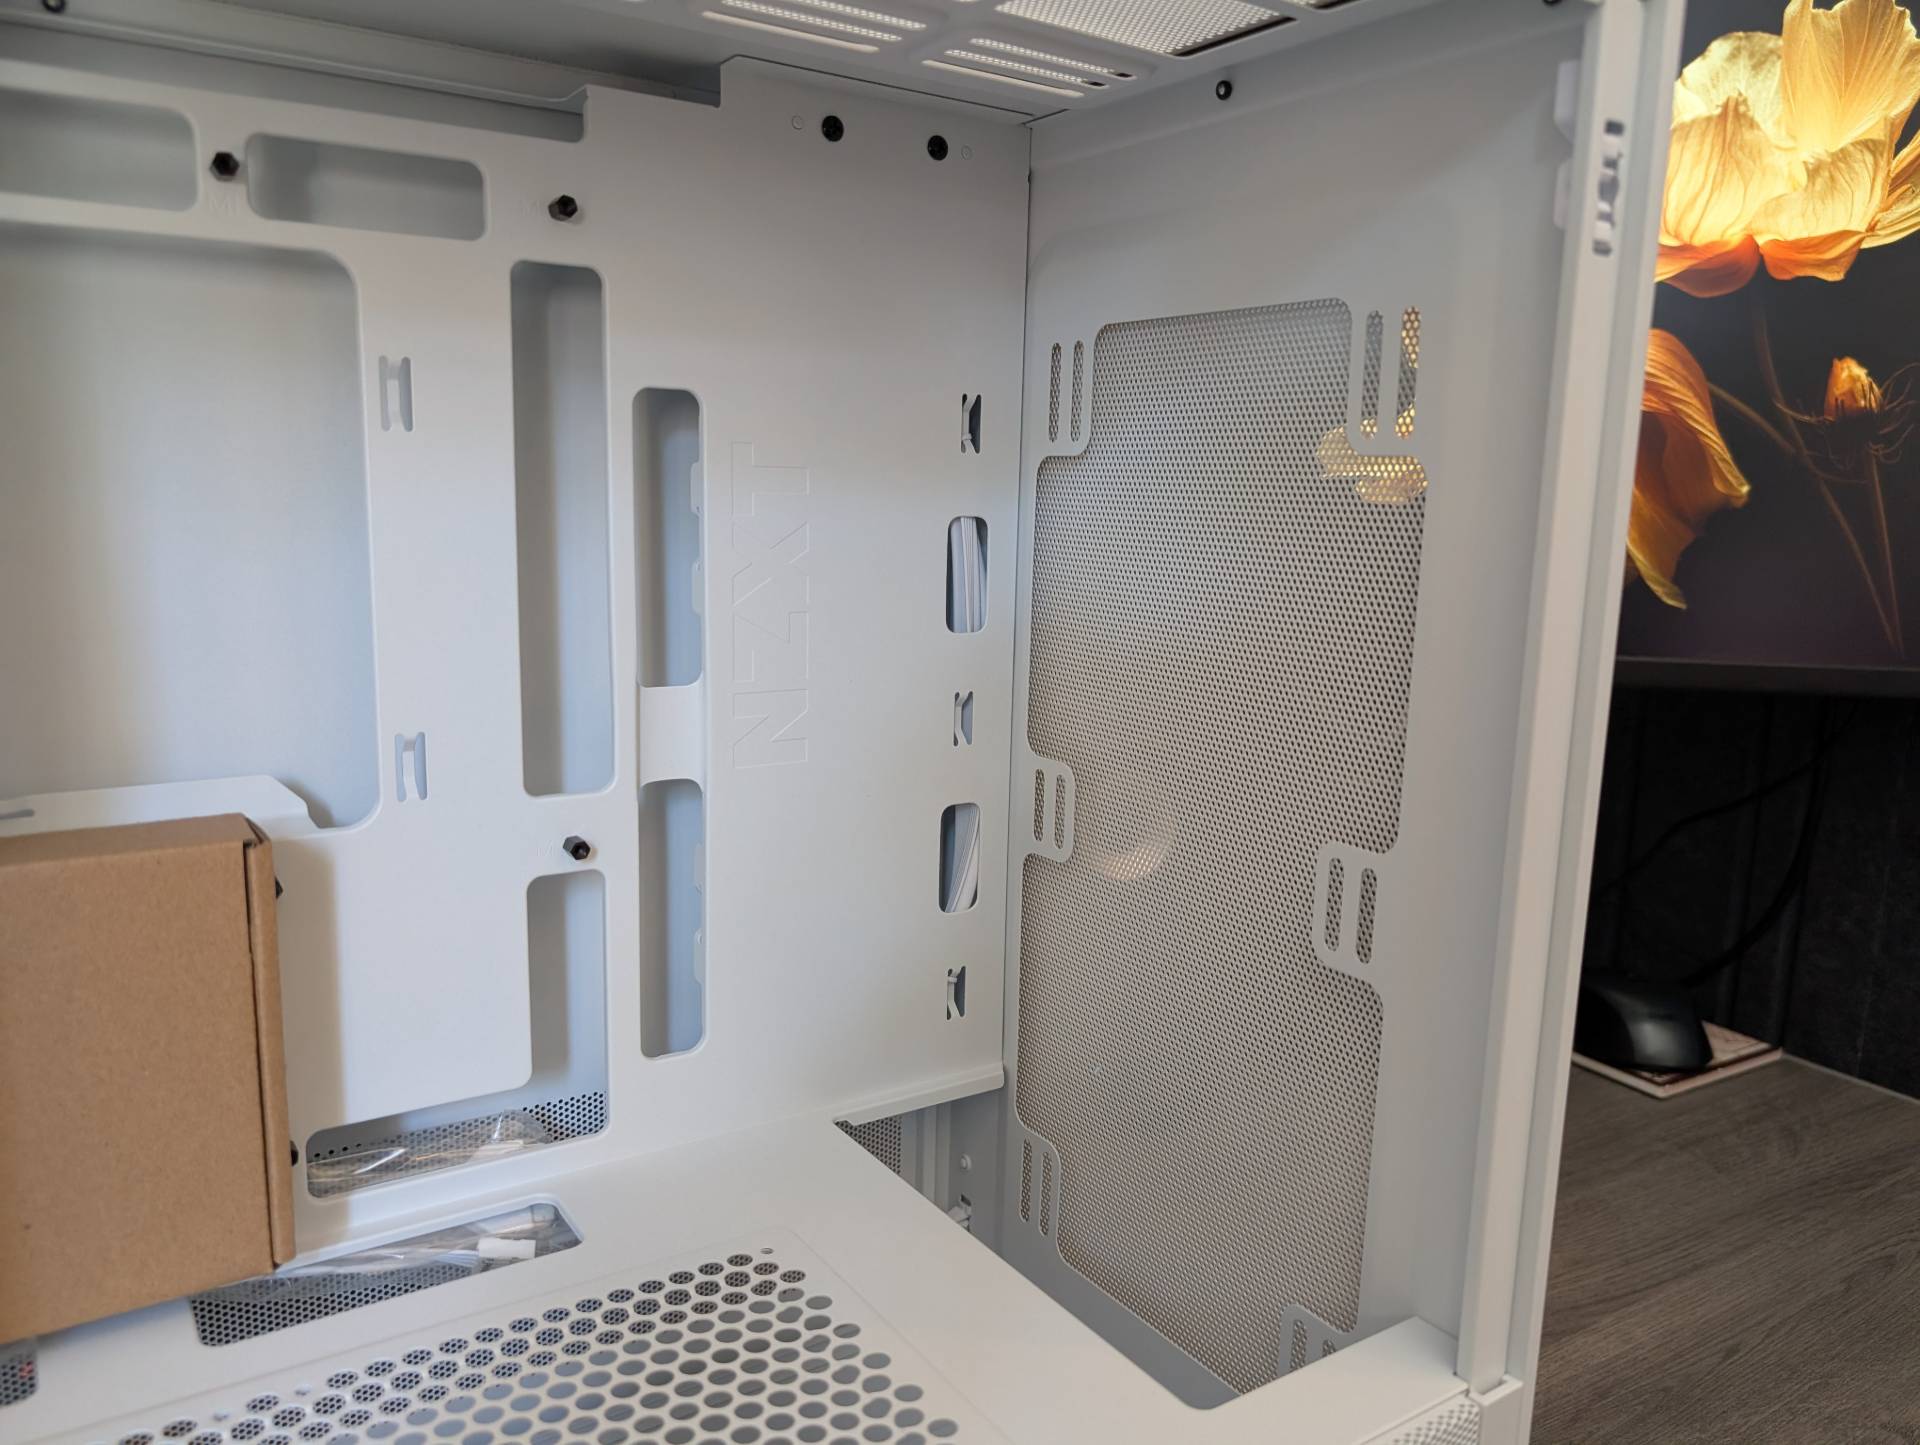
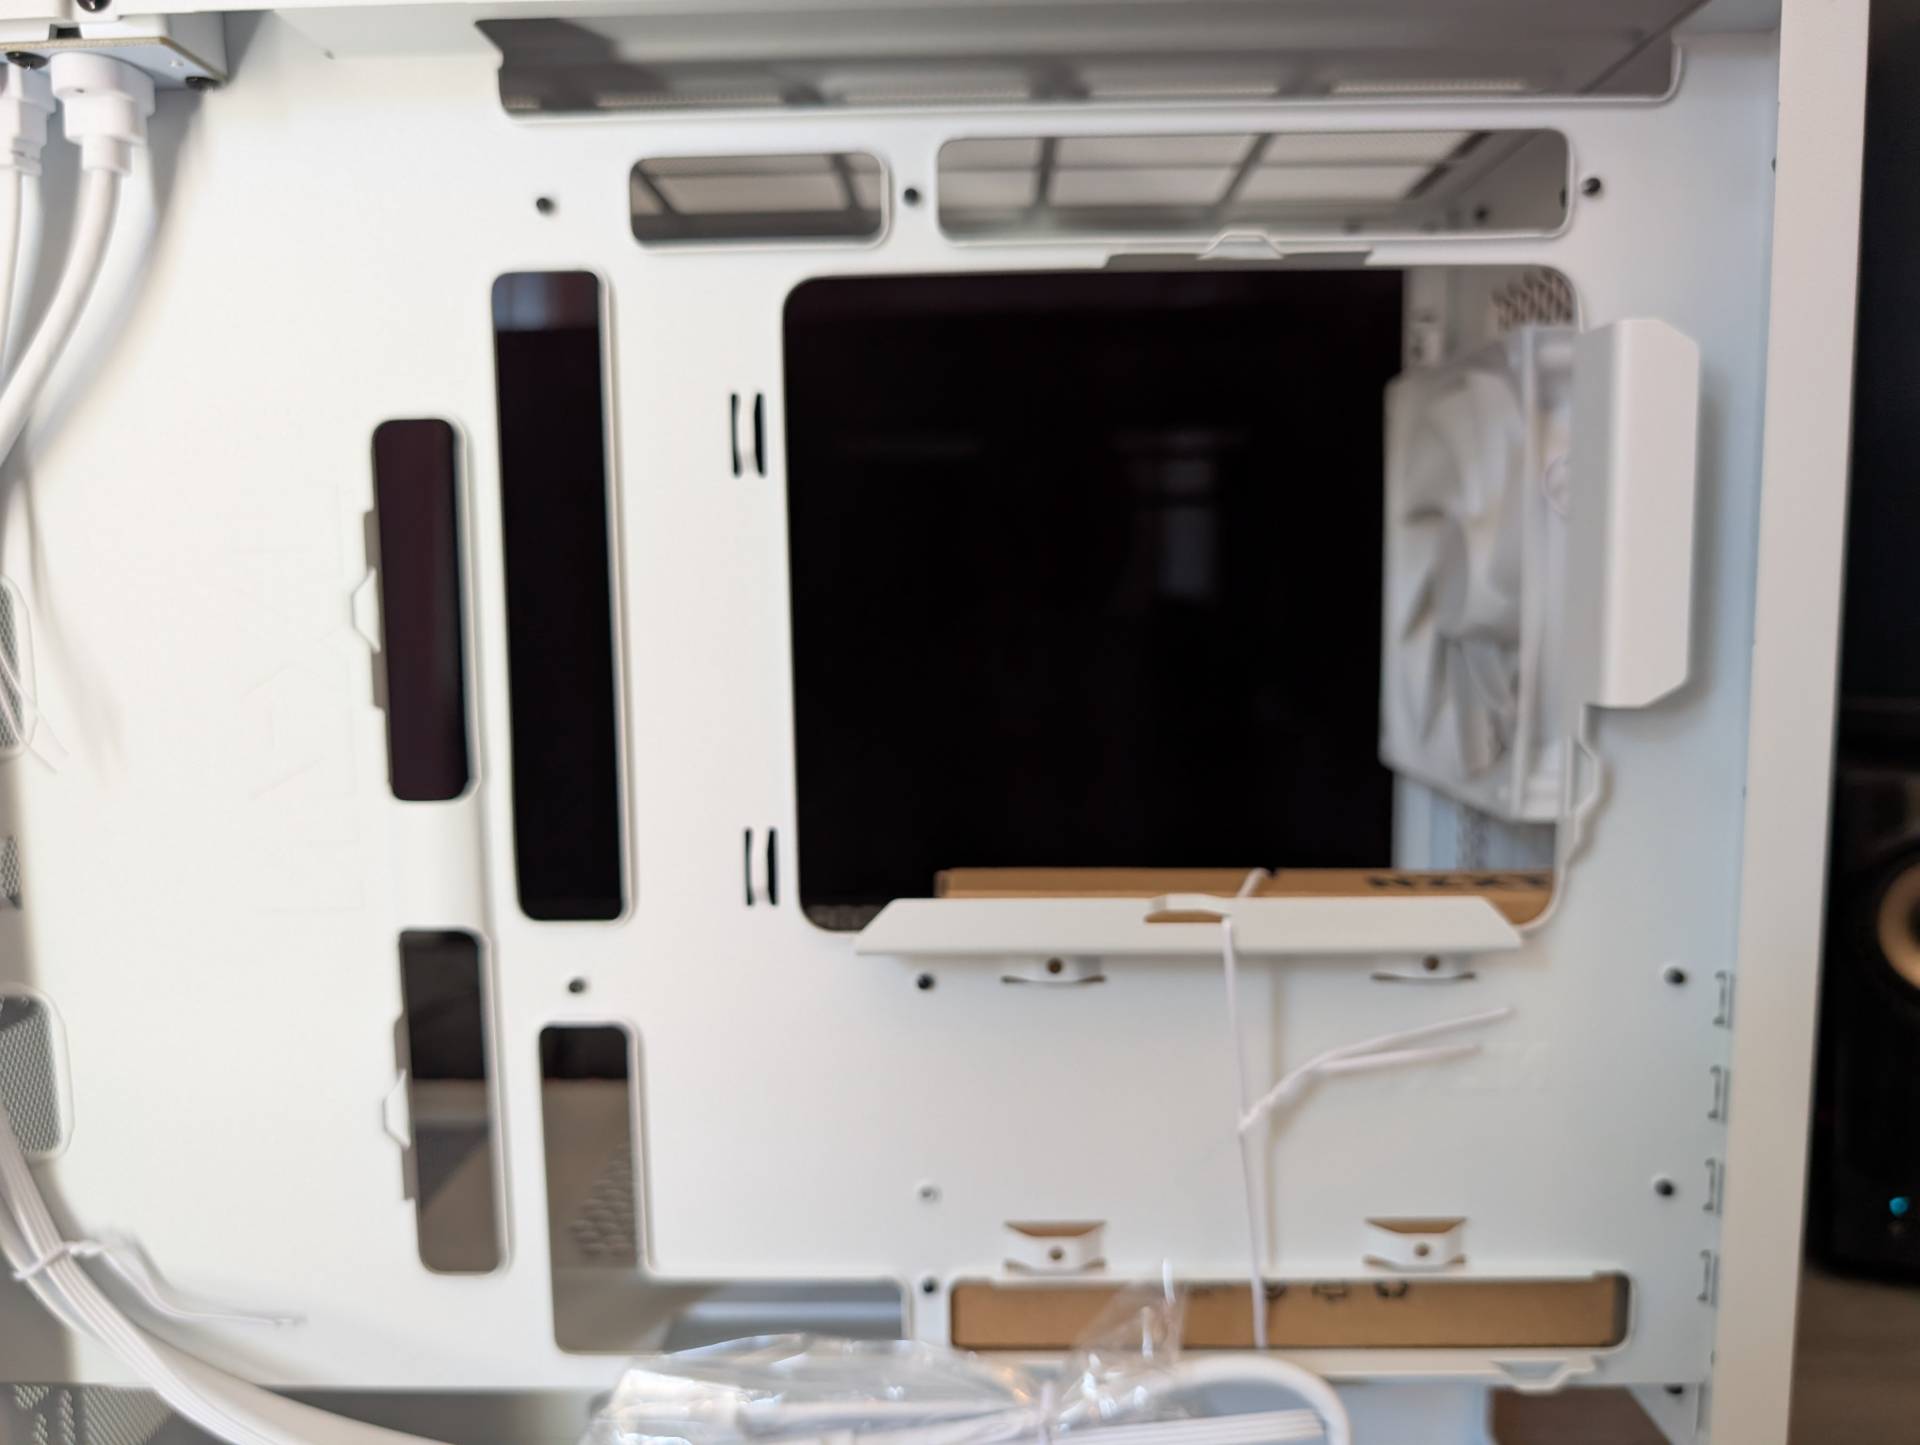
There are a lot of routing holes for cable management, with larger cut-outs behind the motherboard for BTF configurations, with secondary routing holes further out for more traditional cable routing solutions.
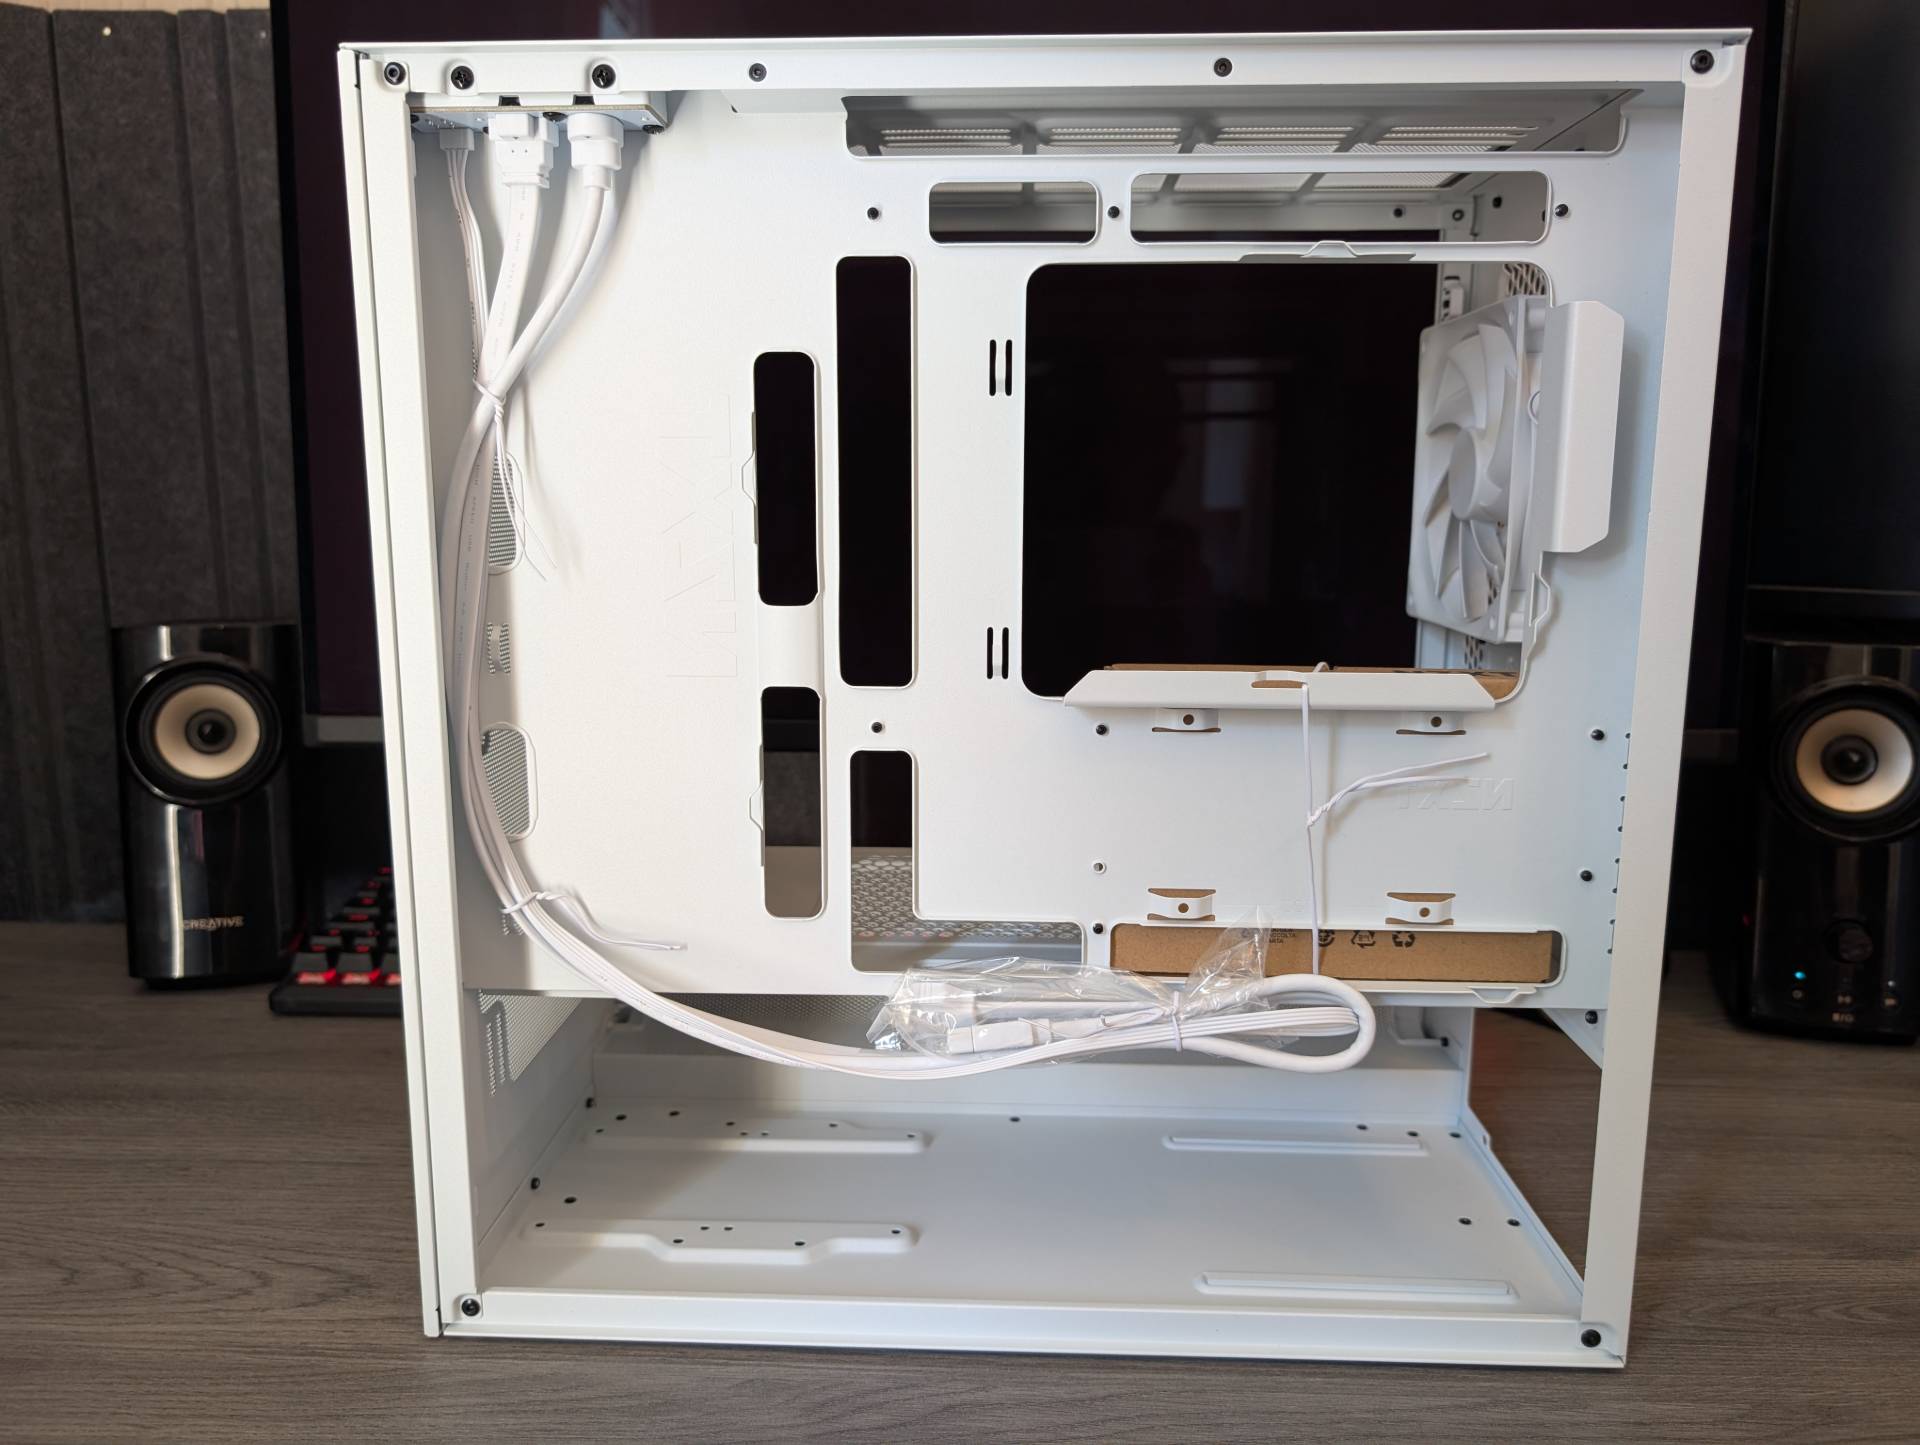
Behind the motherboard, there’s a very reasonable amount of space for cable routing, and while some bulky cables may be a bit cramped, there are ample solutions for cable ties and cable covers to help keep things in check. Furthermore, the inclusion of a proper PSU shroud ensures you’ve got more than enough space to cram excess cables out of the way, ensuring you get a clean build relatively easily.
There’s a single SSD mounting point just behind the motherboard. However, you will have to install this prior to installing your motherboard, as it screws in from the other side. It’s an annoying compromise, but it’s great to see they’ve found a way to use the space rather than just leaving it blank.
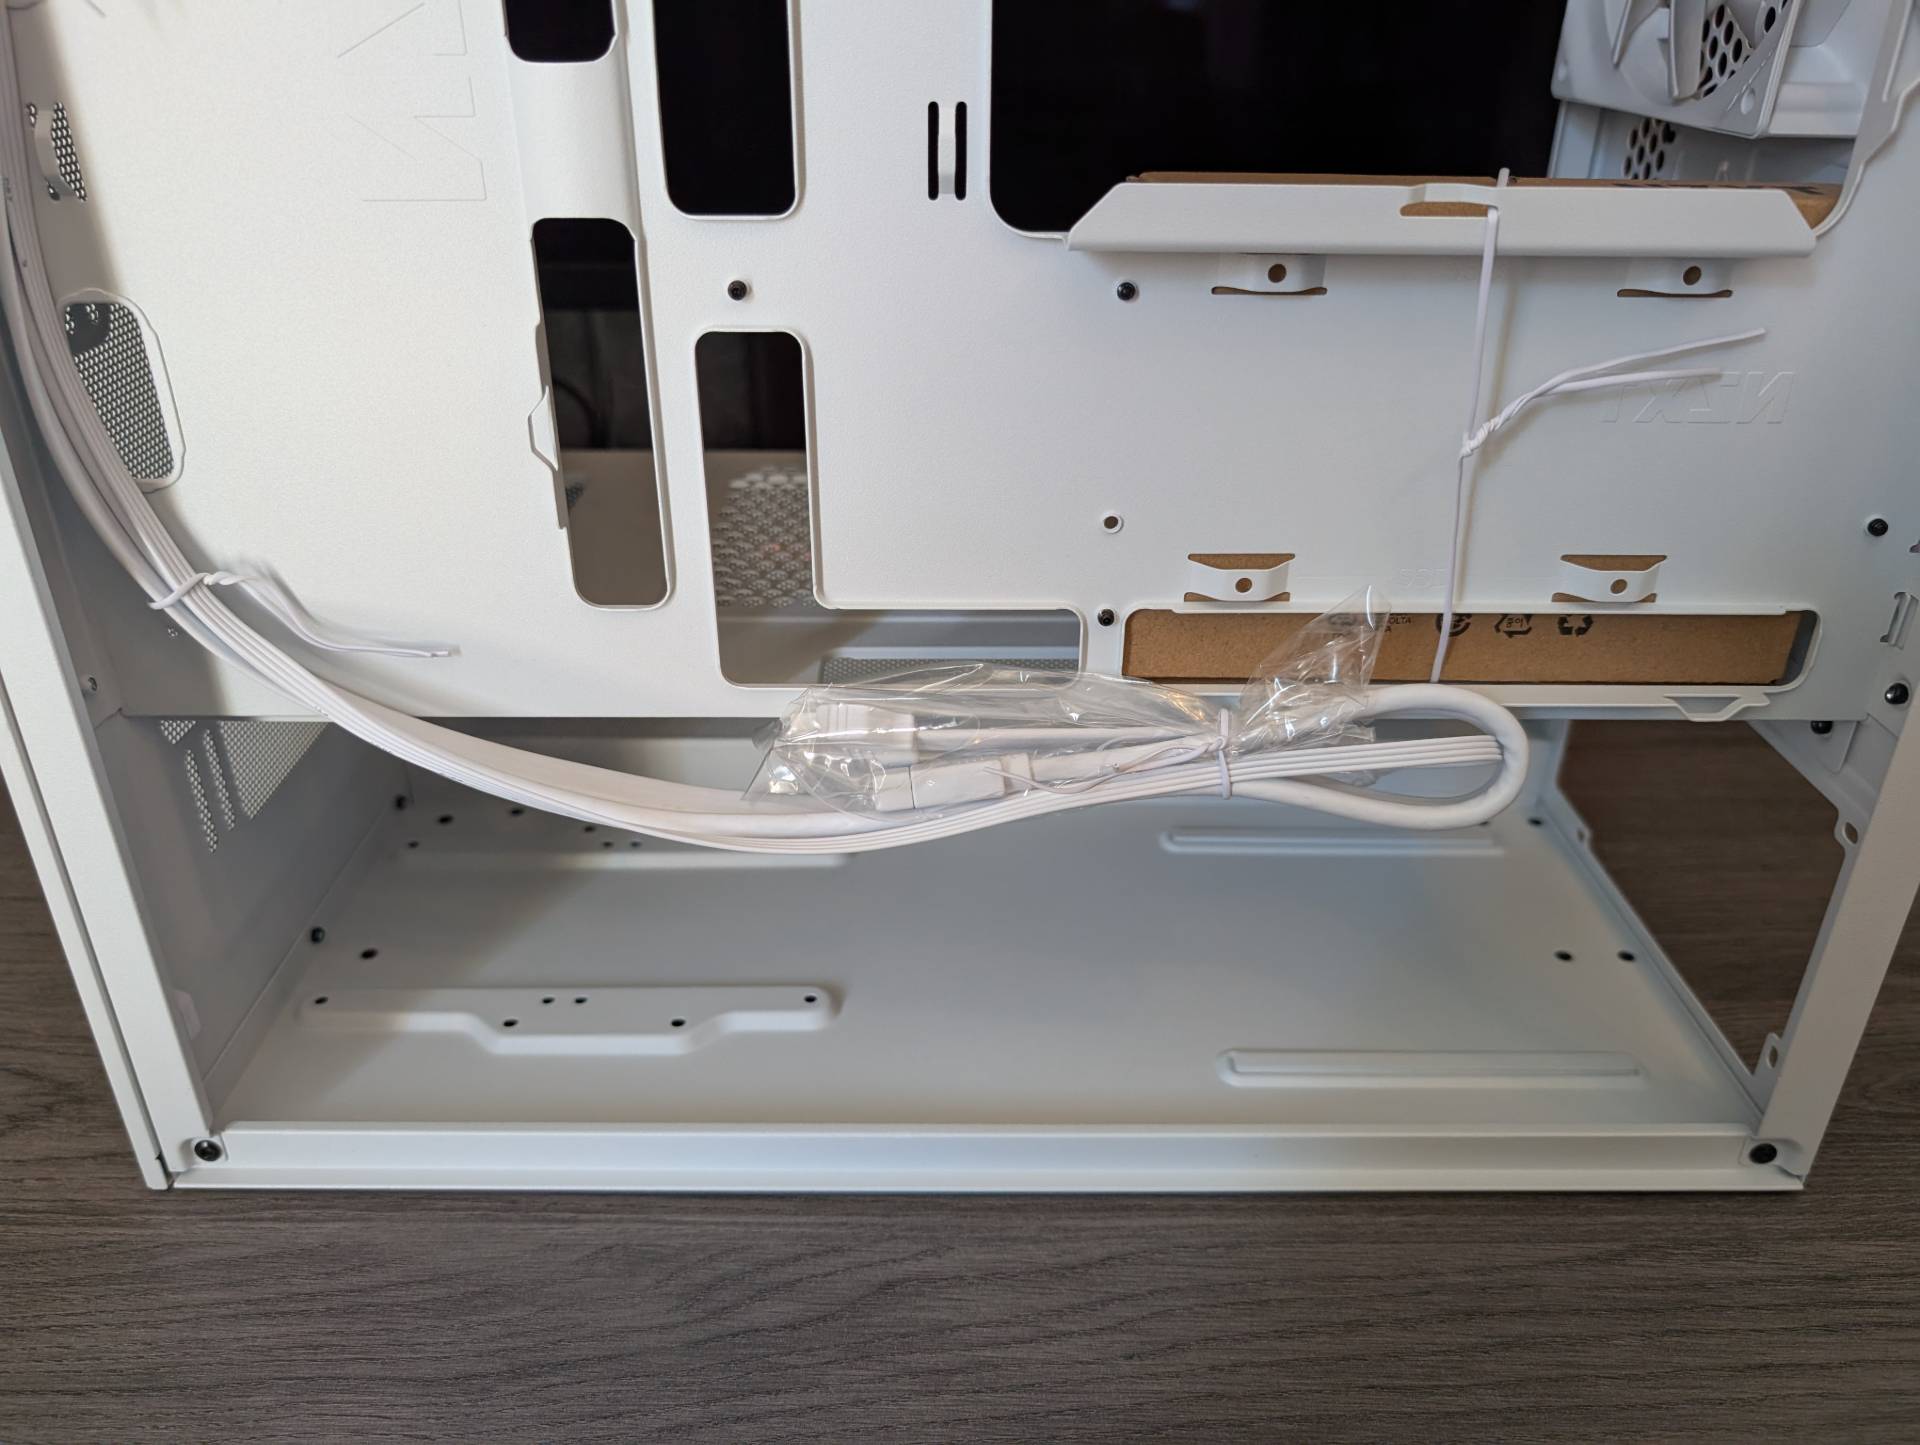
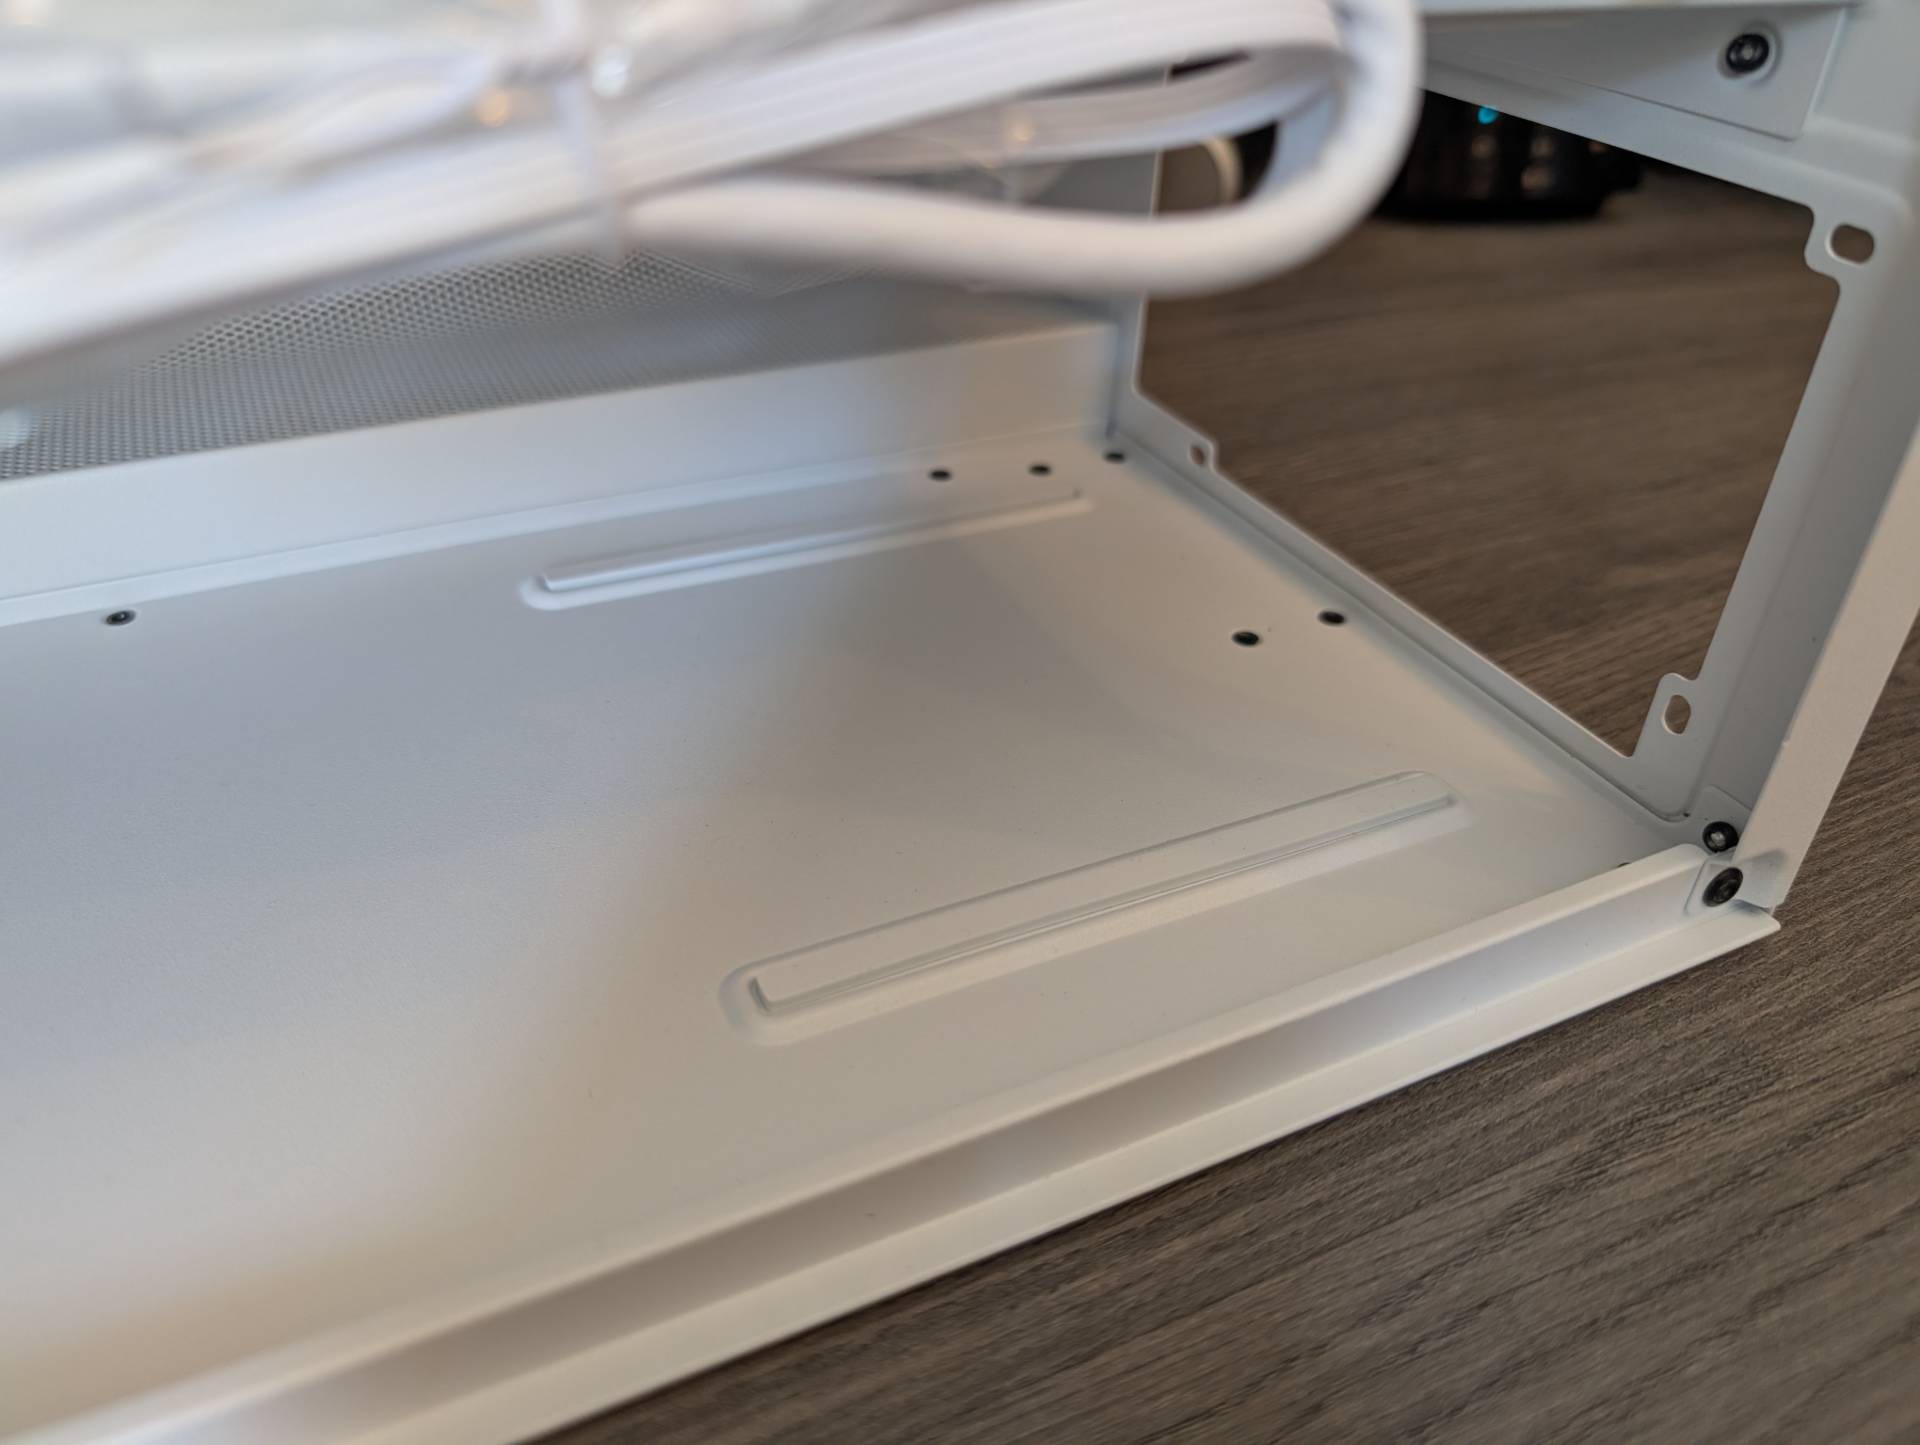
PSU installation couldn’t be easier, though, with an uninterrupted space below the shroud allowing for longer power supplies and excess cables. There’s also a pair of mounting points for storage drives towards the front of the case; the drive mounting screws pass through the bottom of the case to achieve this.